Chocolate Peanut Butter Cheesecake Bars: No-Bake & Ready Overnight
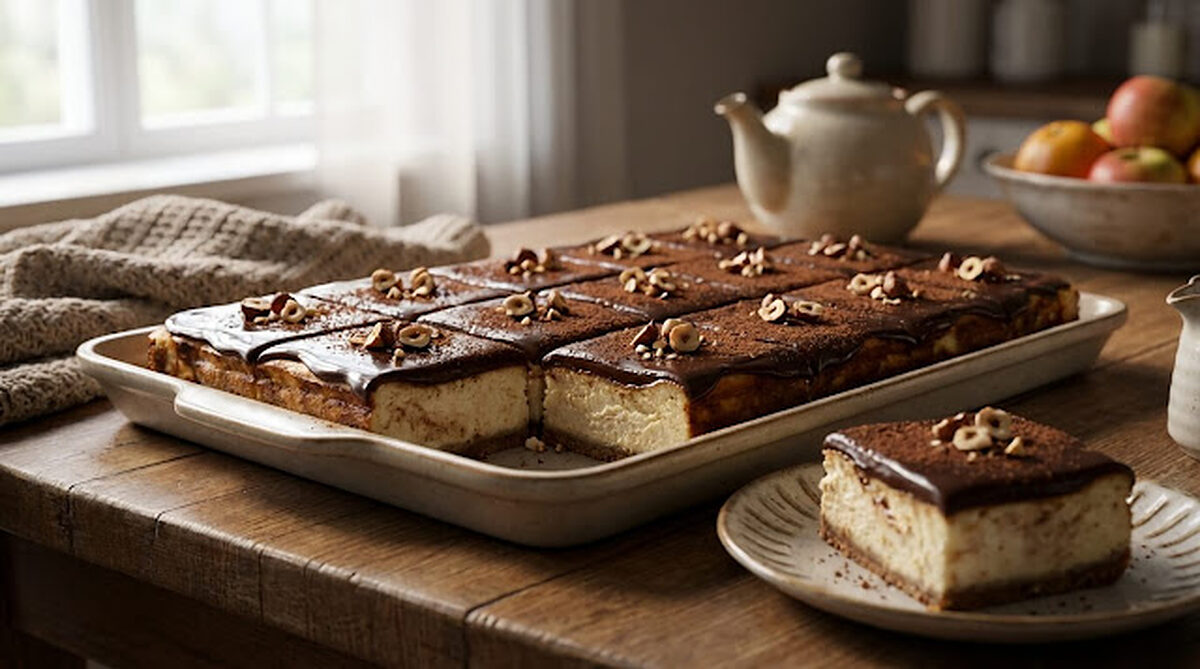
No oven. No water bath. No praying that your cheesecake doesn’t crack. Just a chocolate cookie crust, a thick peanut butter cheesecake layer, and a dark chocolate ganache on top that sets into something genuinely dangerous to keep in the house.
Chocolate peanut butter cheesecake bars are a no-bake dessert with 3 distinct layers, chocolate crust, peanut butter cheesecake filling, and ganache topping. They need 20 minutes of prep and 4 hours in the fridge. That’s it. Make them the night before and walk into any gathering like you own the place.
Real talk, these are the bars I make when I need to impress someone without actually trying.
Full-Fat Cream Cheese, at Room Temperature
Cream cheese, full fat, room temperature: This is non-negotiable. Low-fat cream cheese has more water content and produces a filling that never fully sets, it stays soft and slightly grainy. Full fat gives you a dense, creamy, sliceable bar. And room temperature matters just as much, cold cream cheese doesn’t blend smoothly, it lumps. Pull it out of the fridge 1 hour before you start.
Oreos for the crust (not graham crackers): Graham crackers are fine. Oreos are better. The chocolate cookie adds a deep cocoa bitterness that sets up the peanut butter layer perfectly. And the filling in the Oreos? Leave it in, it acts as a natural binder with the butter and adds sweetness without extra sugar.
Creamy peanut butter, not natural: I know, I know. Natural peanut butter is healthier. It’s also oily, separated, and produces a filling that weeps and slides off the crust within hours. Regular creamy peanut butter (Jif, Skippy) is stabilized with just enough oil to stay emulsified and give you a filling that holds its shape when sliced. Use it here. Save the natural stuff for toast.
Heavy cream in the ganache: Heavy cream melts chocolate into a smooth, glossy, pourable ganache that sets firm enough to slice cleanly but soft enough to bite through without cracking. Milk doesn’t have enough fat, the ganache stays loose. Half-and-half is borderline. Heavy cream only.
Secret weapon, powdered sugar over granulated: Granulated sugar doesn’t dissolve in cold cream cheese, you end up with a gritty filling no matter how long you beat it. Powdered sugar is pre-ground fine enough to incorporate instantly, giving you a silky, smooth filling every time. Small swap, big difference.
Chocolate Peanut Butter Cheesecake Bars
Ingredients
Method
- Line an 8×8 inch pan with parchment paper, leaving overhang on two sides, this is your handle for lifting the whole slab out cleanly later.
- Pulse Oreos in a food processor until fine crumbs, no chunks. Or crush in a zip-lock bag with a rolling pin if you don’t have a processor. Both work.
- Mix Oreo crumbs with melted butter until the mixture looks like wet sand and holds together when squeezed.
- Press firmly and evenly into the bottom of the lined pan. Use the bottom of a flat glass to compact it, really press it down. A loose crust crumbles when you slice. Freeze for 15 minutes while you make the filling.
- Beat room-temperature cream cheese on medium speed until completely smooth, no lumps. This takes about 2 minutes. Don’t rush past this step.
- Add peanut butter and beat until fully combined and fluffy, about 1 minute.
- Add sifted powdered sugar and vanilla. Beat on low first (unless you want a powdered sugar cloud in your face, ask me how I know), then increase to medium until smooth.
- In a separate bowl, whip cold heavy cream to soft peaks, not stiff, just billowy. Fold gently into the peanut butter mixture in two additions. Don’t stir aggressively, you want to keep the airiness.
- Spread filling evenly over the chilled crust. Smooth the top with an offset spatula or the back of a spoon. Refrigerate for 1 hour before adding ganache.
- Make the ganache: heat heavy cream in a small saucepan until just simmering, don’t boil. Pour over chocolate and butter in a bowl. Let sit 2 minutes, then stir from the center outward until completely smooth and glossy.
- Let ganache cool for 5 minutes before pouring, too hot and it melts the filling underneath.
- Pour ganache over the chilled filling and tilt the pan gently to spread evenly. Add toppings now if using, flaky salt, crushed Oreos, chopped peanuts.
- Refrigerate for a minimum of 4 hours, overnight is better. Every hour past 4 improves the texture.
- Lift out using the parchment overhang. Slice with a sharp knife wiped clean between every cut, warm the blade under hot water and dry it for the cleanest edges.
Notes
- Why not natural peanut butter: Natural peanut butter separates and makes the filling oily and loose. Use a stabilized creamy brand.
- Chill time: The filling needs at least 4 hours to slice cleanly. Overnight is more reliable.
- Freezer: Freeze sliced bars on a tray, then wrap. Keep up to 2 months and thaw 20 minutes before serving.
- Storage: Refrigerate up to 5 days.
| Feature | No-Bake PB Cheesecake Bars | Traditional Baked Cheesecake |
|---|---|---|
| Oven | None | Required |
| Water bath | No | Usually yes |
| Cracking | No risk | Common worry |
| Time | 20 min prep + 4 hr chill | Bake, then cool for hours |
Clean Slices Every Time
- Warm your knife under hot tap water and wipe dry before every single cut. Cold knife through cold ganache = cracked top layer. Warm knife glides through cleanly. This is the difference between bars that look homemade and bars that look bakery-made.
- I personally found that beating the cream cheese for a full 2 minutes before adding anything else, even when it already looks smooth, eliminates every single lump from the final filling. Under-beaten cream cheese has micro-lumps you can’t see but can feel. Give it the full 2 minutes.
- Freeze the bars for 30 minutes before slicing if you want ultra-clean edges. The filling firms up just enough to cut without smearing. Move them back to the fridge after cutting, you’re not serving frozen cheesecake, just making the cut cleaner.
- The ganache layer is forgiving but temperature-sensitive. Pour it too hot and it sinks into the filling. Too cool and it sets before it spreads. Five minutes of cooling after making it is the sweet spot, it should coat a spoon but still pour freely.
Why Whipped Cream Goes Into the Filling
Why whipping cream into the filling matters: Folding whipped cream into the cream cheese mixture creates a mousse-like structure, tiny air bubbles trapped in fat. Those air bubbles give the filling its light, cloud-like texture instead of the dense, heavy filling you get from cream cheese alone. The structure holds during refrigeration because the fat solidifies around the air pockets as it chills. Skip the whipped cream,
and the filling is noticeably denser and less pleasant to eat.
Food processor tip: Clean the blade immediately after processing Oreos, chocolate cookie crumbs dry into the crevices of the blade housing fast and are genuinely annoying to remove once set. Rinse under warm water right away, and it takes 10 seconds. Wait an hour, and it takes five minutes of picking.
Dense, satisfying, portion-controlled, one of these bars delivers real protein from peanut butter and cream cheese, keeping you full long after a regular dessert would have worn off. That’s a win dressed up as a treat.
Lumpy Filling and Cracked Ganache
“The filling is lumpy and grainy” → Cream cheese wasn’t at room temperature, or powdered sugar wasn’t sifted → Pull cream cheese out 1 hour before starting, beat it alone for 2 full minutes before adding anything, and always sift the powdered sugar. These three things together eliminate lumps completely.
“The crust crumbled when I tried to slice” → Not pressed firmly enough, or not chilled before adding the filling → Press crust with the bottom of a flat glass using real pressure, then freeze for 15 minutes minimum. A properly compacted, chilled crust holds together cleanly.
“The ganache cracked when I sliced the bars” → Ganache was too thick or bars were too cold → Warm your knife under hot water and wipe dry before every cut. If the ganache still cracks, let the bars sit at room temperature for 5 minutes before slicing next time.
Gluten-Free and Dairy-Free Bars
- Gluten-free: Use GF chocolate sandwich cookies for the crust, same method, identical result, nobody will know
- Dairy-free: Swap cream cheese for vegan cream cheese (Violife or Kite Hill), heavy cream for full-fat coconut cream, and butter for coconut oil, the texture is slightly softer but completely workable
- Lower sugar: Use dark chocolate (85%+ cacao) for the ganache and reduce powdered sugar to 1 cup, the peanut butter carries the sweetness
- Creative twist: Add a layer of raspberry jam between the crust and the filling, the tartness against the peanut butter chocolate combination is genuinely one of the best flavor decisions you can make. Or swirl extra peanut butter into the ganache before it sets for a marbled top that looks impressive and takes 10 seconds
Fridge and Freezer
- Fridge: Airtight container or covered pan for up to 5 days. They actually improve after day one, the flavors meld and the texture firms up perfectly. Day two is the sweet spot.
- Freezer: Freeze individual sliced bars on a parchment-lined tray first, then transfer to a zip-lock bag with parchment between layers, keeps up to 3 months. Thaw in the fridge overnight. The texture holds up remarkably well, one of the better freezer desserts you can make.
- Room temperature: Don’t leave these out longer than 2 hours, cream cheese filling needs to stay cold. They soften fast, and the filling loses its structure at room temperature.
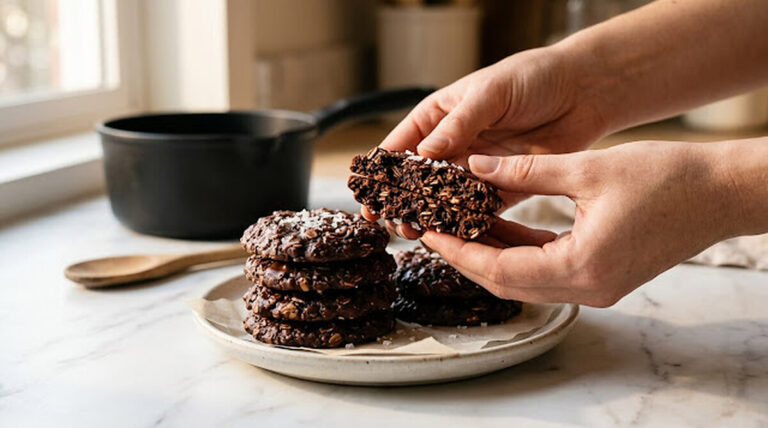
When you’re building the full dessert spread, these bars, our No-Bake Chocolate Oatmeal Cookies for the chocolate lovers, and our Avocado Egg Toast With Pickled Onions & Feta, the morning after, because balance matters.
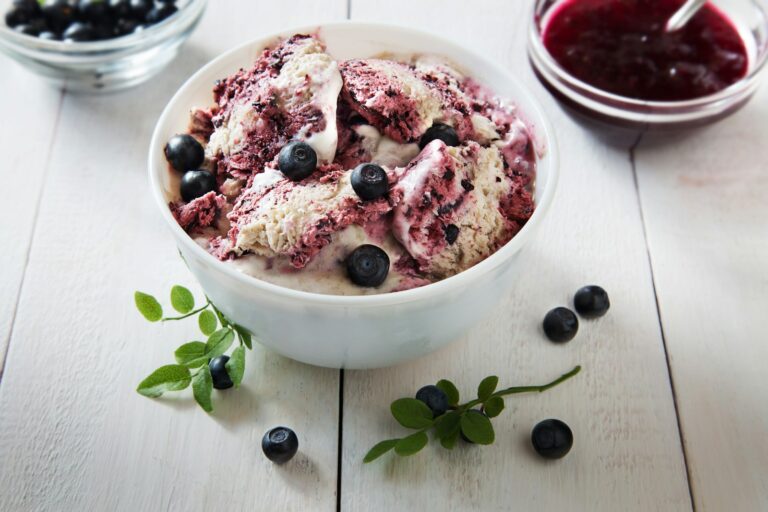
Love a no-bake cheesecake? Try our Strawberry Cheesecake Dip for a lighter, high-protein twist. Craving something frozen? Our Blueberry Cottage Cheese Ice Cream is another 3-ingredient high-protein treat.