Crispy Fried Chicken That Stays Crunchy for Hours
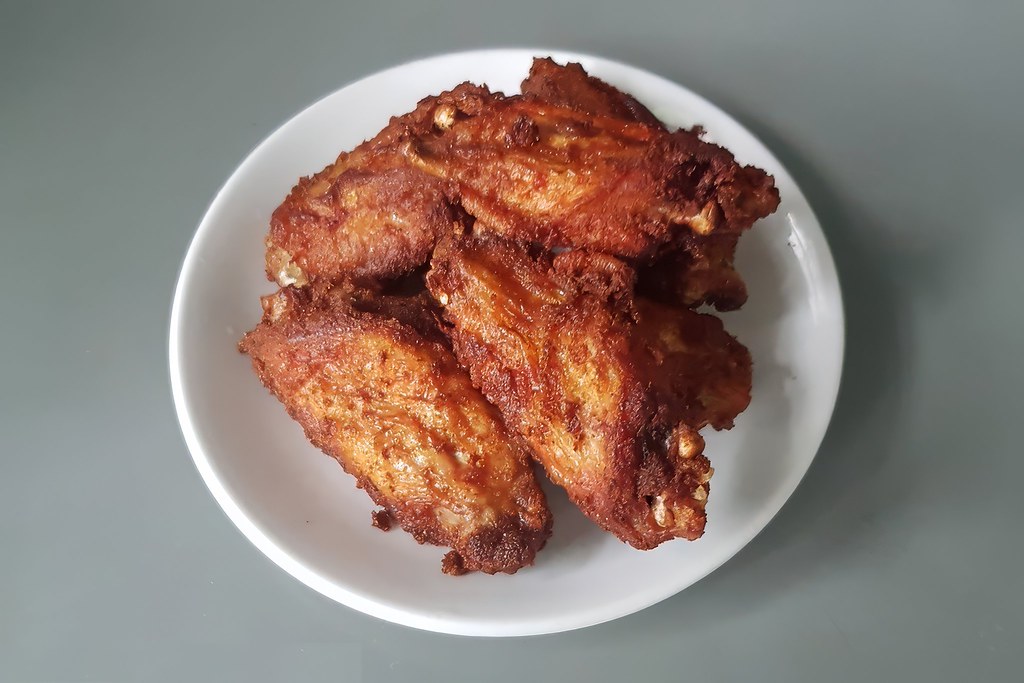
Photo: chooyutshing / Flickr (Public Domain)
I’ve ruined more batches of fried chicken than I care to admit. Soggy coating. Pale skin. The kind of sad result you eat standing over the sink because it doesn’t deserve a plate.
Then I found the trick. One small change that made my crispy fried chicken shatter at the first bite, and stay that way, even after sitting out for an hour.
Let me save you all those failures right now.
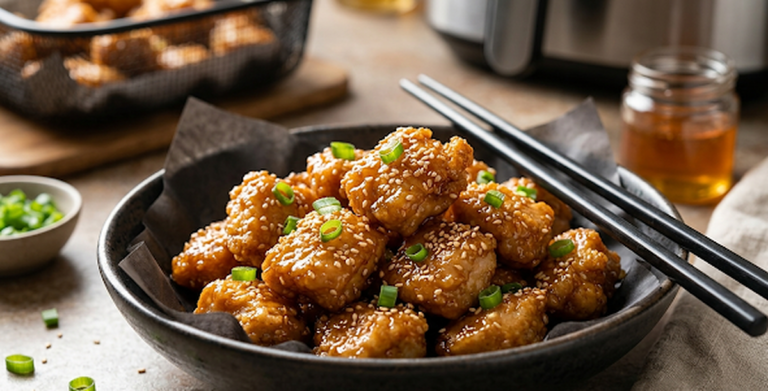
A double-dredge coating and a buttermilk brine give this fried chicken a craggy, shatter-crisp crust that stays crunchy for hours — 35g+ of protein per serving, made in a deep skillet with no deep fryer.
Why This Recipe Works
- Double-dredge method locks in a thick, craggy coating that fries up ultra-crunchy
- Buttermilk brine tenderizes the meat so every piece stays juicy inside, no dry chicken here
- Ready in under 30 minutes of active cook time, perfect for a quick healthy meal on a weeknight
- High protein snack or dinner, one serving packs 35g+ of protein
- No deep fryer needed, a deep skillet handles this completely
- Works for meal prep, coats, chills, and fries beautifully even after 24 hours in the fridge
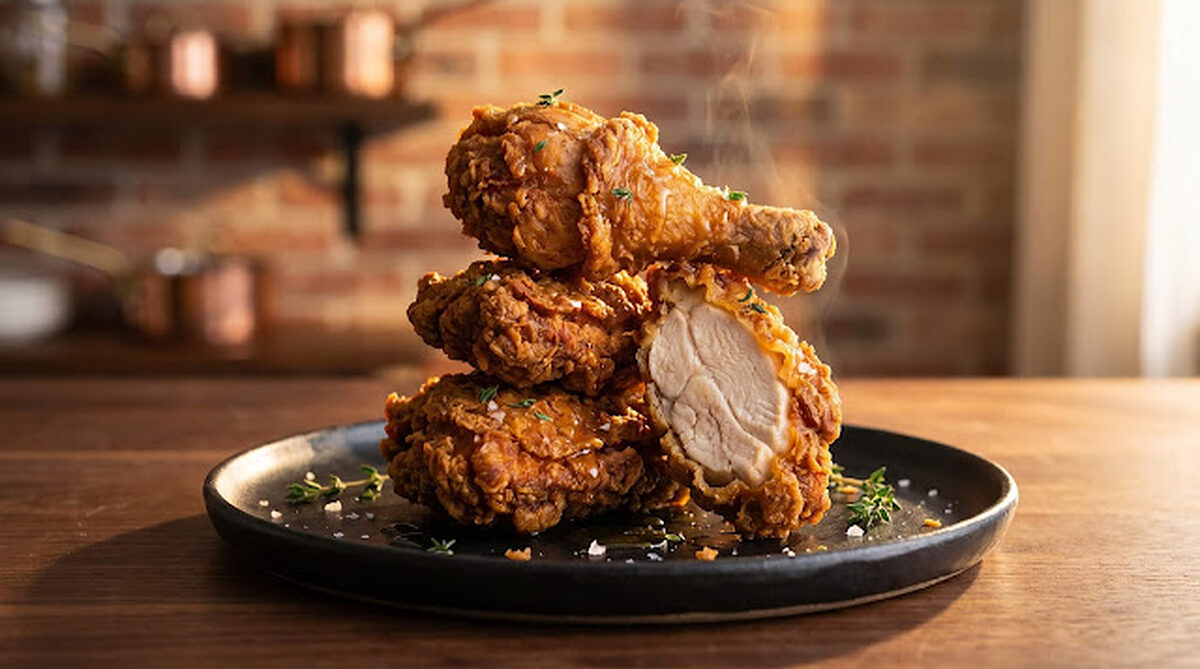
Crispy Fried Chicken
Ingredients
Method
- Brine the chicken: In a bowl, mix buttermilk with hot sauce. Add chicken pieces, coat well, cover, and refrigerate for at least 1 hour, or overnight if you have the time. I’ve done both and honestly, even 1 hour makes a dramatic difference.
- Mix the dredge: Combine flour, cornstarch, garlic powder, smoked paprika, onion powder, black pepper, salt, and cayenne in a shallow bowl. Whisk until fully blended.
- Dredge, twice. Pull a chicken piece from the brine (let the excess drip off), press it firmly into the flour mix. Then dip it back into the buttermilk, then back into the flour. Two coats. This is non-negotiable for that thick, shatteringly crunchy crust.
- Let it rest: Set the coated pieces on a wire rack for 10 minutes before frying. This lets the coating hydrate and grip the chicken. Skipping this step is the #1 mistake most home cooks make.
- Heat the oil: Pour oil into a heavy-bottomed skillet or Dutch oven to about 1.5 inches deep. Heat to 350°F (175°C). Use a thermometer, guessing here will ruin you.
- Fry in batches: Add 2–3 pieces at a time. Don’t crowd the pan or the oil temp drops and you get greasy, not crispy. Fry bone-in pieces for 13–14 minutes, turning once halfway through, until deep golden brown.
- Drain right: Move finished pieces to a wire rack, not paper towels. Paper towels trap steam and soften the crust. Wire rack = crunch preserved.
Notes
- Doneness: Dark meat is safe at 165°F (74°C). Many cooks take it to 175 to 185°F for more tender meat near the bone.
- No buttermilk: Stir 1 tbsp lemon juice or white vinegar into 1 cup milk and let it stand 5 minutes.
- Oil temperature: The oil drops sharply when chicken goes in. Let it climb back to 350°F between batches.
- Keep crisp for a crowd: Hold finished pieces on a rack in a 200°F oven.
- Leftovers: Reheat on a rack at 375°F for 15 to 20 minutes. Refrigerate up to 3 days.
| Factor | Stays Crunchy | Goes Soggy |
|---|---|---|
| Coating | Double-dredge, craggy | Single, thin |
| Meat | Buttermilk-brined (juicy) | Unbrined (can dry out) |
| Equipment | Deep skillet, right temp | Oil too cool |
| After an hour | Still crisp | Soft and sad |
Frying Tips
- Use cornstarch in the dredge. Flour alone goes soft. Cornstarch stays crispy. I use a 3:1 ratio of flour to cornstarch and it’s the single biggest crust upgrade I’ve ever made.
- Fry at exactly 350°F. Too low and the coating absorbs oil. Too high and it burns before the chicken cooks through. Get the thermometer out.
- Rest on a wire rack, always. Even 5 minutes on paper towels and you’ll notice the difference in texture, and not in a good way.
- I personally found that letting the dredged chicken sit for a full 10 minutes before it hits the oil creates a coating that grips the crust so well it practically glues itself on. No flaking, no bare patches.
- Season the flour generously. Bland dredge = bland crust. Taste a pinch of the dry mix before you start, it should be flavorful on its own.
One more finish worth trying: while the crust is still hot, drizzle it with hot honey. It runs straight into the craggy bits, and sweet-heat against a crust this crunchy is the pairing that made hot honey famous.
The Science + Pan Maintenance Tip
Why the Double Dredge Works
The first flour coat absorbs into the wet brine layer and creates a paste-like base. The second coat builds on top of that with dry, jagged edges that fry up into those craggy, crunchy peaks you’re after. The cornstarch dehydrates faster at high heat, locking in a harder, crispier shell than flour alone ever could.
Cast Iron Care Tip
If you’re using a cast iron skillet (highly recommended), dry it completely after washing and rub a thin layer of neutral oil on the surface while it’s still warm. Moisture is the enemy of your seasoning. A well-seasoned pan also holds heat more evenly, which means your oil stays at temp between batches, and that’s what keeps every piece as crispy as the first.
Consistently eating high-protein meals like this crispy fried chicken supports muscle maintenance and satiety, making it a smart pick even for weight loss goals when paired with a balanced plate.
If you’re on a meal prep kick this week, our Crispy Air Fryer Zucchini Fries is next-level easy and keeps beautifully in the fridge for 4 days.